How do you add a reducer to your pipeline.
In the following you will find detailed instructions on how to add a reducer to a pipeline.
1st you must edit the 3D sketch in SOLIDWORKS, right click on it and select „split point“. Then click along the sketched line to place a point where the reducer will be inserted. You can add a dimension to locate the point specifically.
Next,
 [1]
[1]
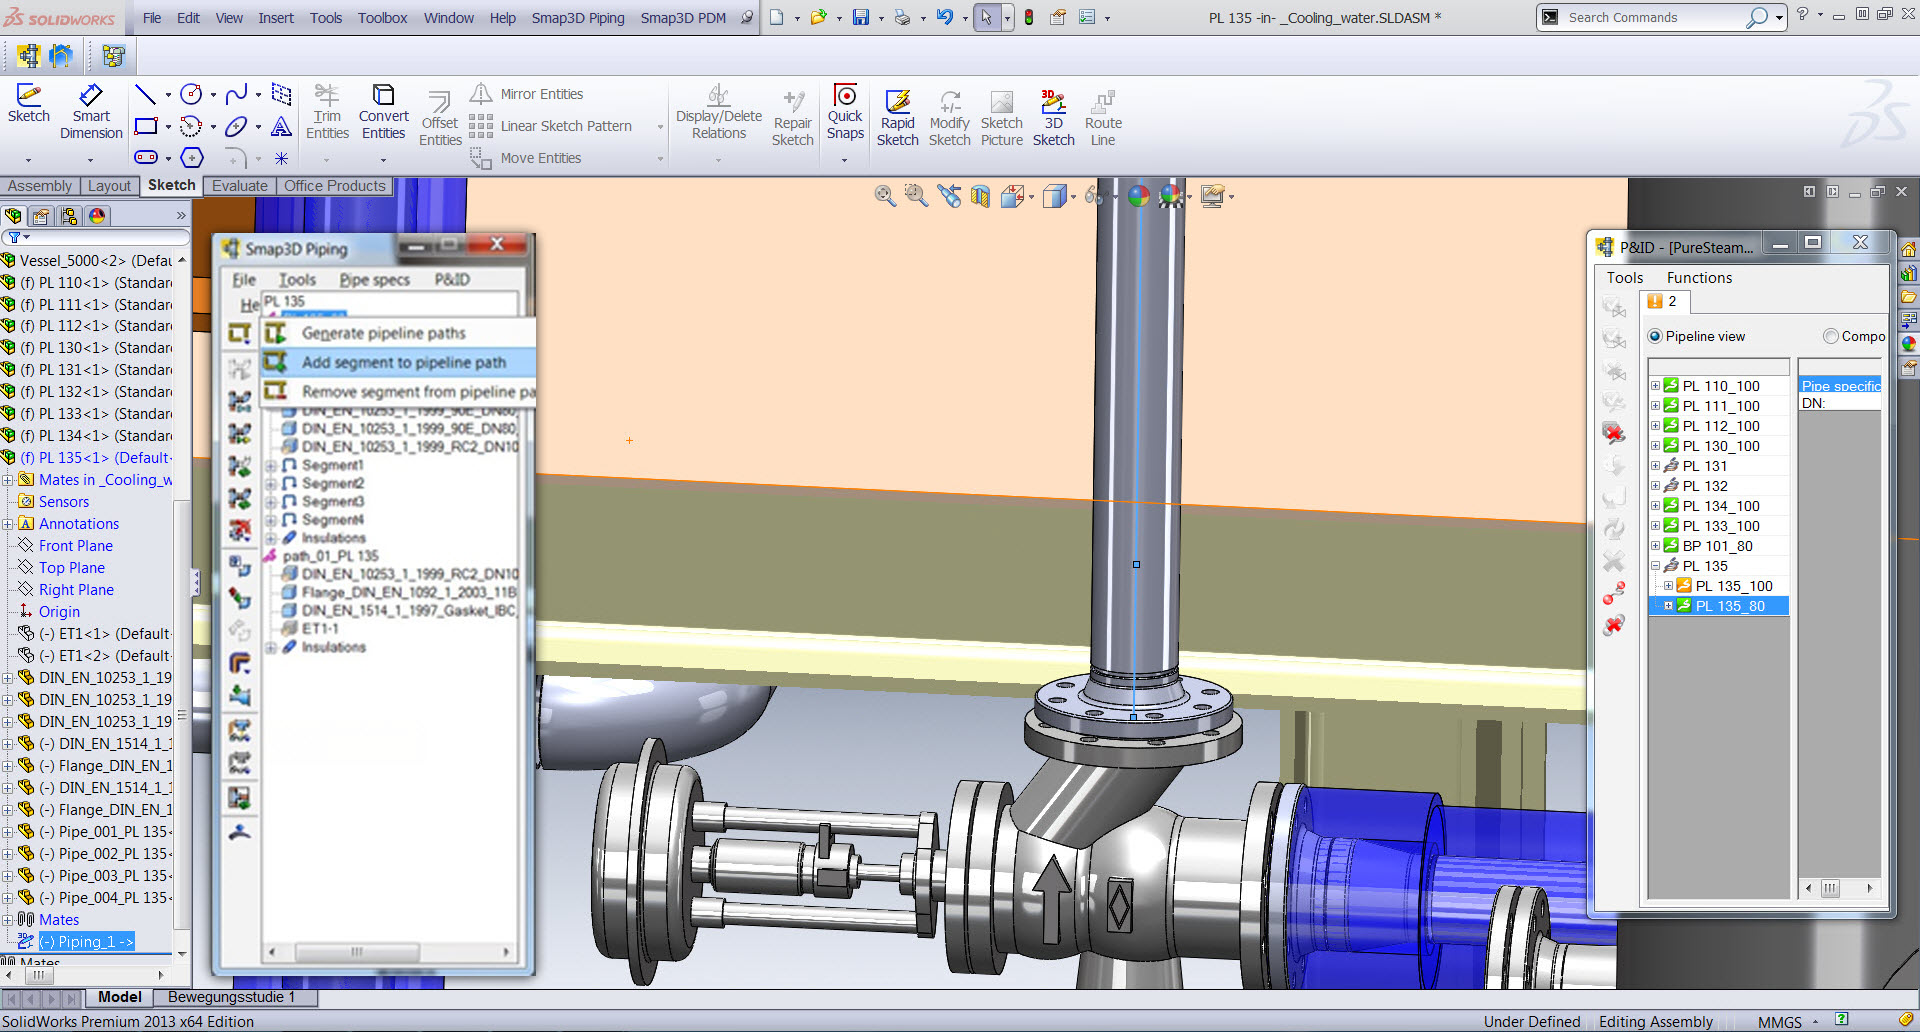
Highlight the pipeline in the piping tree and verify that the entire 3D sketch is highlighted. Depending on the order in which you split the sketch you might have to use the „add Segment“ tool.
 [2]
[2]
Then with the pipeline still highlighted in the piping tree, clink on „add concentric component“ button and then select the desired size.
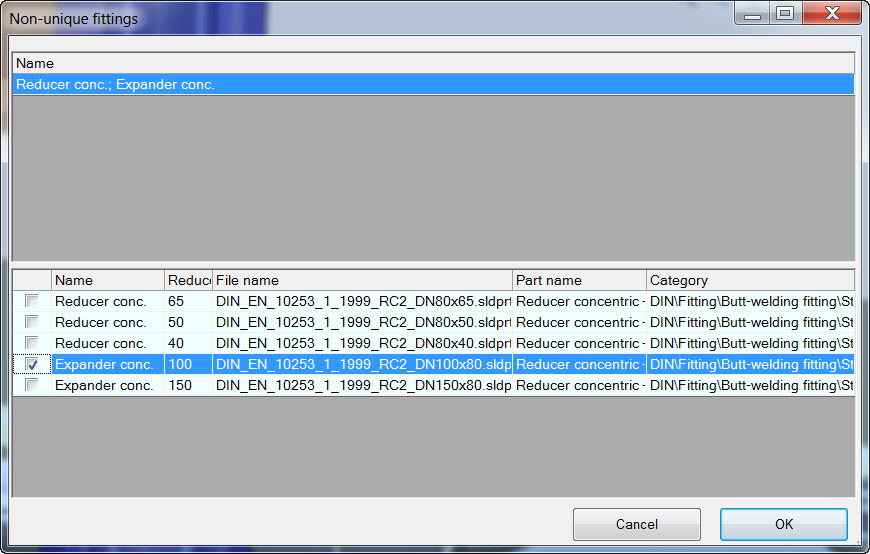
In this case you want the 100×80 size.
.jpg)
Then click on the point where the sketch is split (the point filter is automatically turned on)
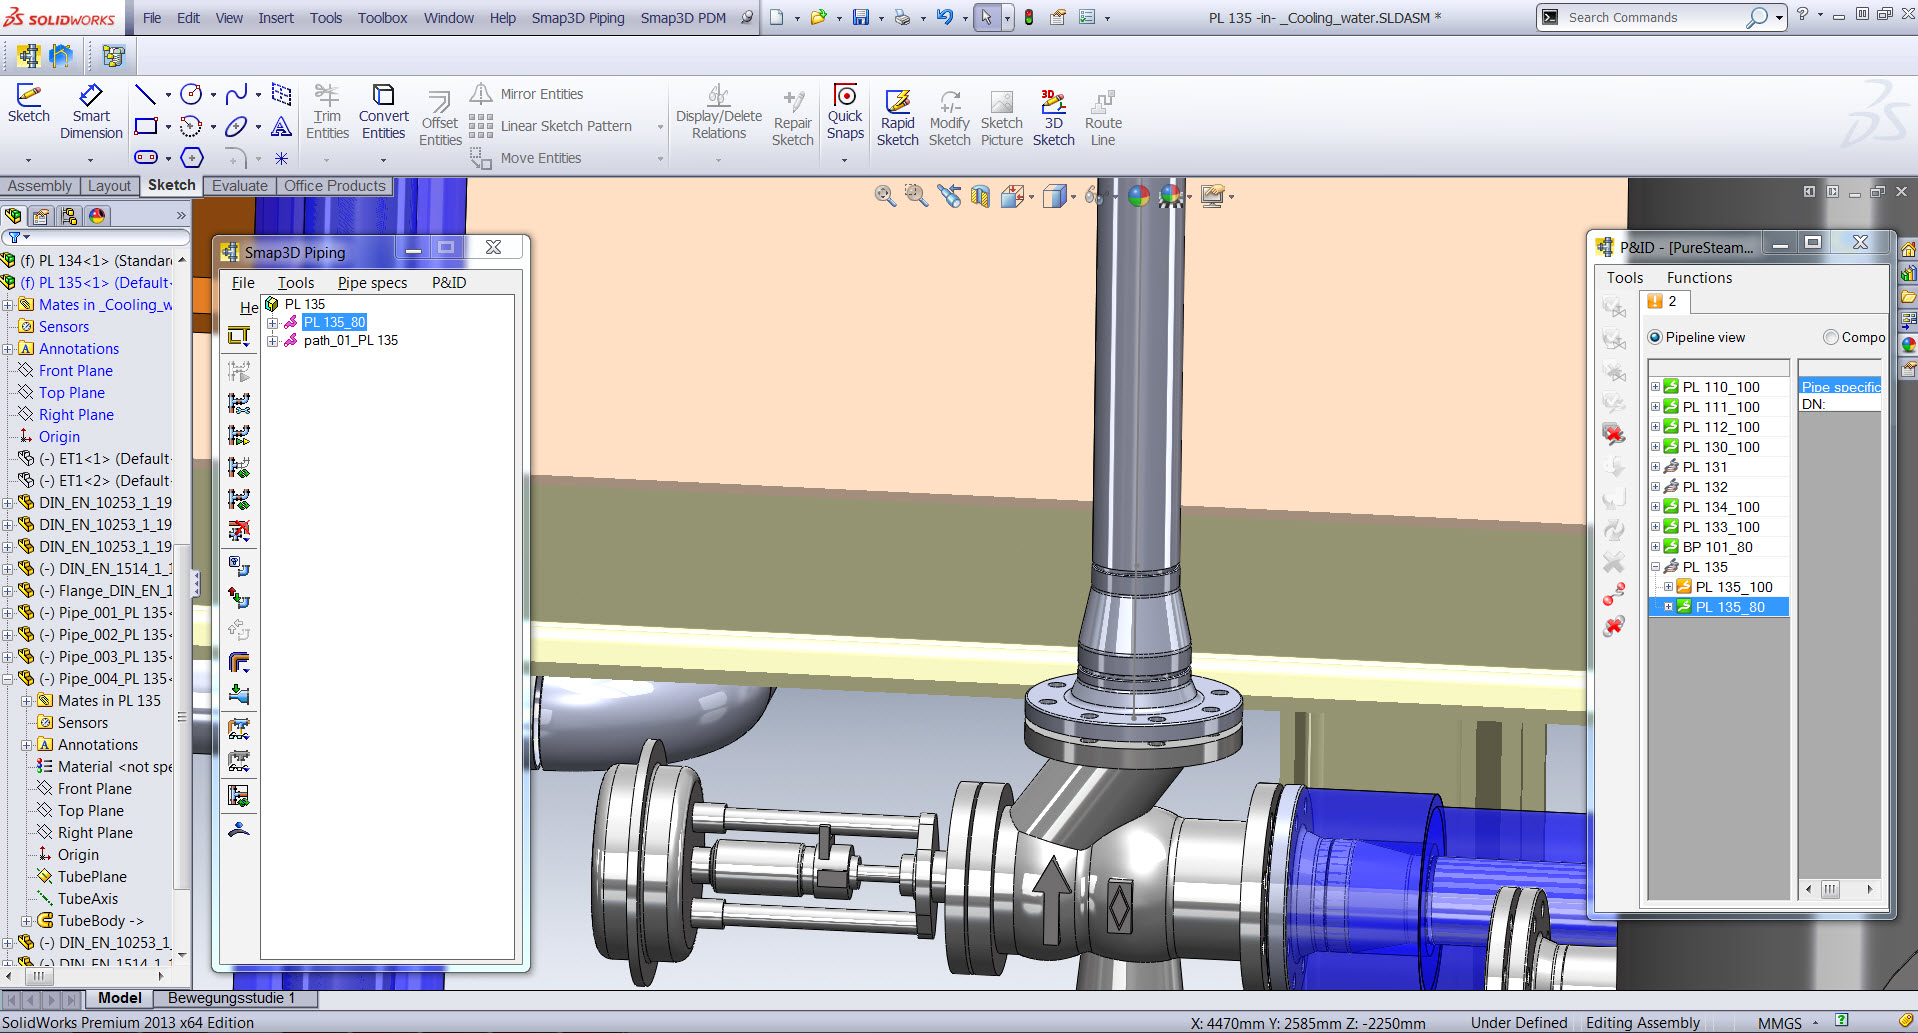
the reducer is inserted and the pipeline is automatically recalculated to update the pipeline.